How to Use Microcentrifuge Tubes for Efficient Laboratory Experiments?
In the realm of laboratory experiments, the efficient use of microcentrifuge tubes is crucial. Dr. Emily Chen, a leading expert in molecular biology, highlights their importance: "Microcentrifuge tubes are key for precise sample handling." These small yet versatile tubes play an essential role in many procedures, from DNA extraction to protein analysis.
However, proper usage requires attention to detail. Researchers often overlook factors like tube selection and sealing methods. Not every microcentrifuge tube is suitable for every experiment. Choosing the wrong type can lead to contamination or sample loss.
Additionally, the potential for human error should not be underestimated. Lab personnel might accidentally mislabel tubes or misplace them during experiments. Such mistakes can impact results significantly. Thus, understanding the best practices for using microcentrifuge tubes is vital for any lab aiming for accuracy and reliability.

Understanding Microcentrifuge Tubes: Types and Specifications
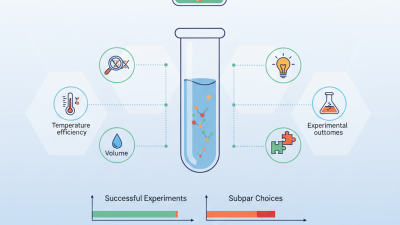
Microcentrifuge tubes are crucial in laboratories for various experiments. These small, versatile tubes come in multiple types and specifications, catering to diverse needs. The most common type is the 1.5 mL tube, used for DNA and RNA extraction. However, sizes can range from 0.2 mL to 2.0 mL. Each size adapts to specific protocols, influencing sample volume and experimental outcomes.
Material is another key aspect. Polypropylene is popular due to its chemical resistance. Some tubes are autoclavable, which is vital for maintaining sterility. A study highlighted that leakage during centrifugation can lead to significant sample loss—up to 10% in some cases. Choosing the right tube is critical to avoid such issues.
Design features like conical bottoms and screw caps enhance usability. Yet, improper sealing can compromise samples. A constant reminder for researchers is the importance of tube quality. Reports indicate that subpar tubes can lead to irregular results. Ultimately, understanding microcentrifuge tubes allows for better experimental design and efficiency.
Optimal Volume Capacity: Choosing the Right Microcentrifuge Tube
Choosing the right microcentrifuge tube is crucial for effective laboratory experiments. The optimal volume capacity often ranges from 0.5 mL to 2.0 mL. In studies, it's found that 1.5 mL tubes are the most popular choice, as they offer versatility and convenience. They hold enough samples for most applications. However, smaller volumes, such as 0.5 mL tubes, are beneficial for precious samples, like DNA or RNA.
When selecting a tube, consider the application. For example, if you're working with viscous solutions, you might need a tube with a wider diameter. This can prevent clogging during pipetting and centrifugation. According to industry reports, 80% of labs prioritize ease of use and reliability over cost. Remember, not all experiments are successful. Sometimes, a poor choice of tube can lead to sample contamination.
**Tips:** Always check the tube’s compatibility with your specific centrifuge model. A mismatch can lead to accidents. Also, consider using color-coded tubes for better organization. That saves time and reduces errors during experiments. Using clear labeling can also minimize confusion on sample contents and concentrations.
How to Use Microcentrifuge Tubes for Efficient Laboratory Experiments? - Optimal Volume Capacity: Choosing the Right Microcentrifuge Tube
| Tube Type |
Volume Capacity (mL) |
Material |
Temperature Resistance (°C) |
Applications |
| Standard Microcentrifuge Tube |
1.5 |
Polypropylene |
-80 to 121 |
General PCR, DNA/RNA storage |
| Low-Retention Microcentrifuge Tube |
1.5 |
Polypropylene with silicone coating |
-80 to 121 |
Enzymatic reactions, sensitive assays |
| PCR Tube |
0.2 |
Polypropylene |
-80 to 105 |
PCR amplification |
| Eppendorf Tube |
2.0 |
Polypropylene |
-80 to 121 |
Sample storage, cell culture |
| Safe-Lock Microcentrifuge Tube |
1.5 |
Polypropylene |
-80 to 121 |
Long-term storage, hazardous materials |
Best Practices for Centrifugation: Speed and Time Considerations
When using microcentrifuge tubes, speed and time are critical factors. Studies suggest that optimal speeds vary based on sample type. Typically, a range of 10,000 to 14,000 rpm is recommended for most biological samples. However, some proteins or sensitive compounds may require lower speeds to avoid shear stress. It's crucial to understand the balance between speed and sample integrity.
Time considerations also play a vital role. For most applications, a centrifugation duration of 10 to 15 minutes is sufficient. Yet, this can change based on the sample volume and the desired outcome. Too long can lead to pellet compaction, making it harder to resuspend. Conversely, too short a time might not achieve proper separation. A 2022 report indicated that improper timing can reduce recovery rates by up to 25%.
It's essential to be aware of these dynamics. Overly aggressive centrifugation can lead to denaturation of delicate biomolecules. Choosing the right parameters requires trial and reflection. Adjusting speed and time based on specific experiment needs is often necessary. After all, there is no one-size-fits-all solution in the lab.
Effect of Centrifugation Speed and Time on Sample Yield
This chart illustrates the relationship between centrifugation speed (in RPM) and the corresponding sample yield percentage. As the speed increases, the yield of the sample improves significantly, demonstrating the importance of optimizing these parameters in laboratory experiments for better efficiency.
Cleaning and Storage: Ensuring Longevity of Microcentrifuge Tubes
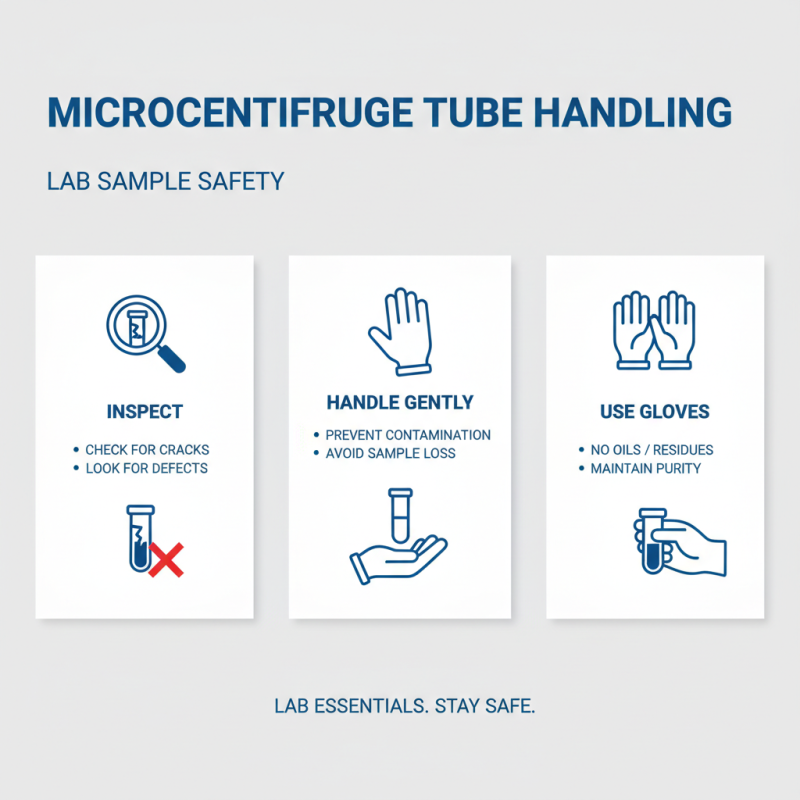
Cleaning microcentrifuge tubes is essential for maintaining their integrity. After each use, a simple rinse with distilled water removes residues. Using a soft brush helps in removing stubborn particles. Avoid harsh chemicals, as they may degrade the plastic. Proper cleaning ensures that cross-contamination is minimized, which is crucial for the accuracy of experiments.
Storage is equally important for longevity. Store microcentrifuge tubes in a clean, dry place. A dedicated drawer or container can prevent accidental damage. It's helpful to keep them organized by type or size. If you notice any cracks or warping, it's time to reconsider their use. Inspecting regularly prevents future mishaps. While it may seem tedious, proper cleaning and storage significantly extend the lifespan of your tubes.